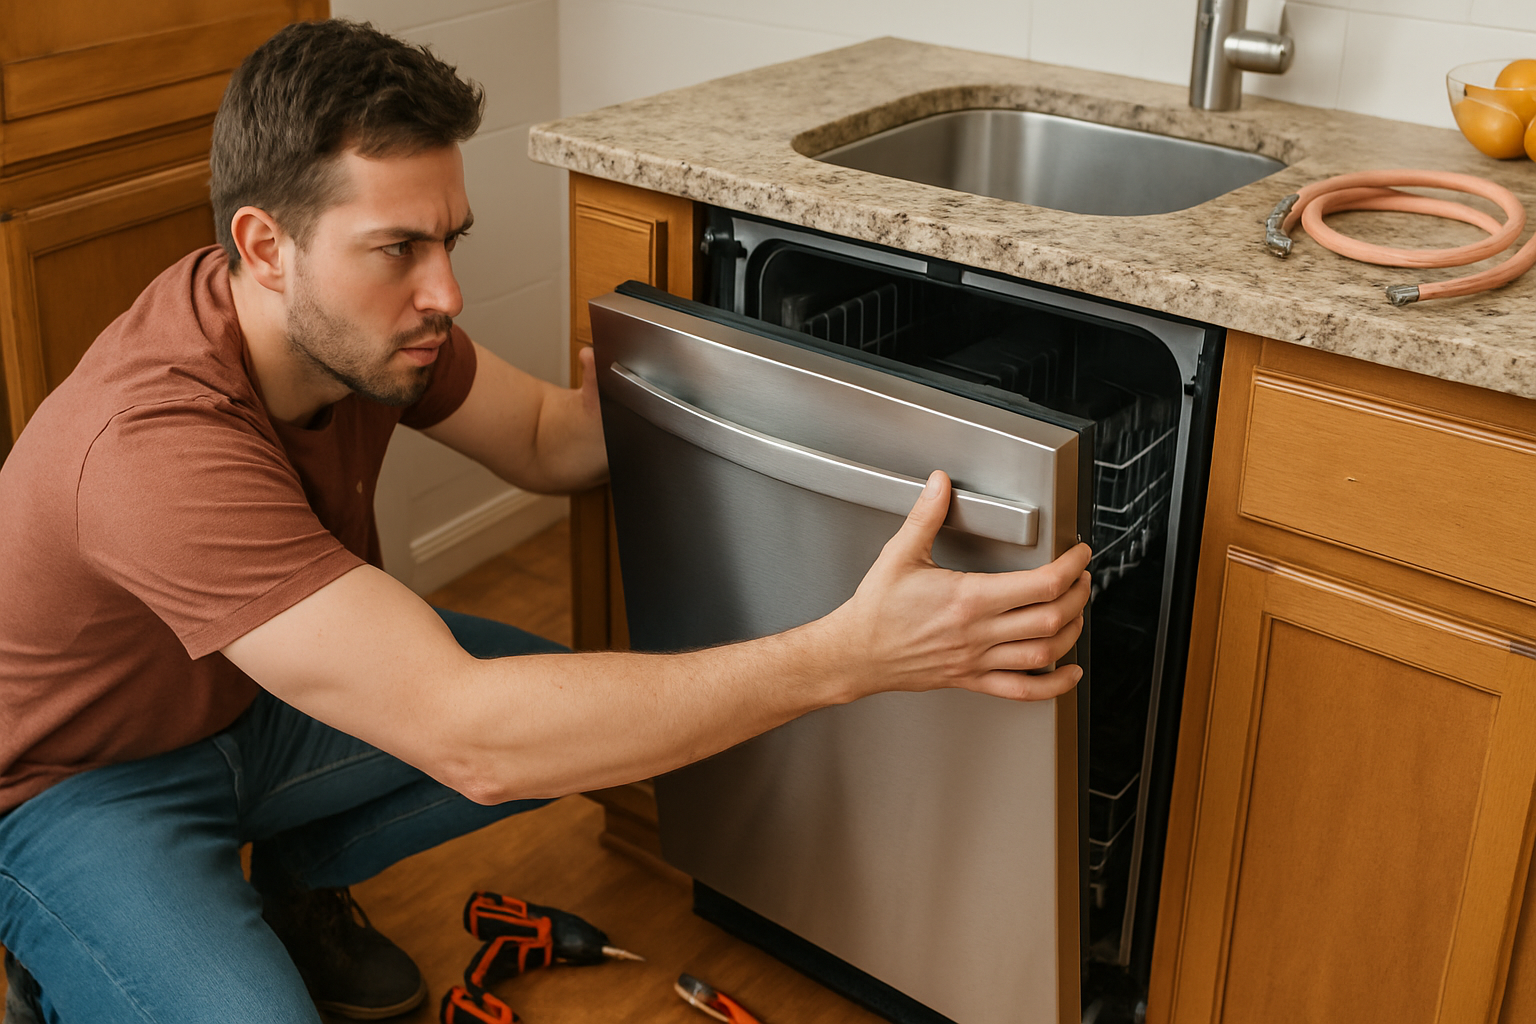
Installing a Bosch dishwasher on your own can save you time and money. Just make sure to follow the right steps. This guide will help you install your dishwasher. It covers everything, from preparation to final testing.
You’ll ensure your dishwasher is secure, level, and leak-free.
Tools and Materials Needed
To install your Bosch dishwasher, you will need basic plumbing and electrical tools. Having all items ready makes the process smoother and faster.
- Screwdrivers, both flathead and Phillips, help secure brackets and open panels.
- Adjustable wrench and drill are used for hose and bracket fittings.
- Level, measuring tape, bucket, and towels ensure precision and clean up any water spills.
- Add a 90-degree elbow fitting, Teflon tape, and a Bosch dishwasher installation kit. These ensure watertight connections.
How to Install a Bosch Dishwasher
Step 1: Prepare the Space and Ensure Safety
Before installing a Bosch dishwasher, turn off the power and water. Always focus on safety and space compatibility before beginning.
- Turn off the electricity at the circuit breaker. Also, shut off the hot water supply. This helps prevent electric shocks or leaks.
- Take out the old dishwasher, if you have one. Clean the space. Then, check if the opening fits. The standard Bosch width is 23 9/16 inches.
- Check your new Bosch unit for any shipping damage. Make sure all parts and fittings are there.
Step 2: Measure and Level the Installation Area
A flat space helps the dishwasher run well and prevents drainage problems. Make sure your cabinetry meets Bosch specifications.
- Use a measuring tape to confirm width, height, and depth—make sure there is room for hose and cable access.
- Ensure the floor is level using a spirit level. Uneven surfaces cause misalignment and leaks.
- Check that the drain hose, water supply line, and electrical wiring can easily reach the dishwasher.
Step 3: Attach Mounting Brackets
Mounting brackets keep the Bosch dishwasher stable during operation. The installation method depends on your countertop material.
- For wood or laminate countertops, use top-mount brackets. Screw them into the underside to secure the dishwasher.
- For granite or stone countertops, use side-mount brackets. Screw them into the cabinet walls instead.
- Avoid overtightening. Leave adjustments for after you have positioned and leveled the unit.
Step 4: Connect the Water Supply Line
A secure hot water line connection is critical to Bosch dishwasher performance. Use a 90-degree elbow for easy alignment.
- Wrap Teflon tape on the elbow fitting threads. Then, screw it into the dishwasher’s inlet valve.
- Attach the water supply line to the elbow fitting. Use an adjustable wrench to tighten it without stripping.
- Check for leaks by briefly turning on the water supply before moving forward.
Step 5: Make Electrical Connections Safely
Bosch dishwashers can be hardwired or plugged in. Follow the manufacturer’s instructions and local codes.
- Use the junction box for hardwired connections. Connect black to black, white to white, and green to ground.
- If your model supports it, connect using a Bosch-approved power cord kit.
- Secure cables with a strain relief to prevent movement and disconnection.
Step 6: Attach the Drain Hose Correctly
The drain hose setup must prevent backflow and follow local codes. Bosch recommends a high loop at a minimum.
- Connect the drain hose to the dishwasher drain port and fasten it with a clamp.
- Route the hose through a high loop at least 20 inches above the floor, or install an air gap where required.
- Attach the other end to the garbage disposal or sink drain, ensuring that all seals are watertight.
Step 7: Position and Level the Dishwasher
Once all connections are made, it’s time to slide in and level your Bosch dishwasher. Proper leveling avoids leaks and vibrations.
- Carefully slide the unit into the cabinet, being mindful not to crimp hoses or cords.
- Use a level to check front-to-back and side-to-side alignment. Adjust the leveling feet as needed.
- Secure the dishwasher using before installed mounting brackets.
Step 8: Final Testing and Inspection
Before using your new dishwasher, perform a test run to check for any issues. Fix them immediately to avoid future damage.
- Turn on the water supply and restore power. Run a short wash cycle.
- Check for leaks under the sink and around all hose connections.
- Reinstall the toe-kick panel, then admire your handiwork.
How to Properly Load Your Bosch Dishwasher (Step-by-Step Guide)
FAQs
Can I install a Bosch dishwasher without a plumber?
Yes, if you’re comfortable with basic plumbing and electrical work. Otherwise, hire a certified installer.
Do I need an air gap for Bosch dishwashers?
Local codes vary. Some areas must an air gap, while others allow a high drain loop.
What if my counter is granite?
Use side-mount brackets to avoid damaging stone surfaces.
How long does installation take?
Typically, 2–3 hours for DIYers familiar with tools and connections.
Where can I get a Bosch installation manual?
Visit Bosch’s official manuals page and enter your model number.
Conclusion
You can easily install a Bosch dishwasher at home. Just gather the right tools, follow safety precautions, and use step-by-step guidance. If you’re upgrading or replacing, these easy steps will help you install it without leaks.
Visual learners can check out Bosch’s installation videos on YouTube or Bosch-home.com.


