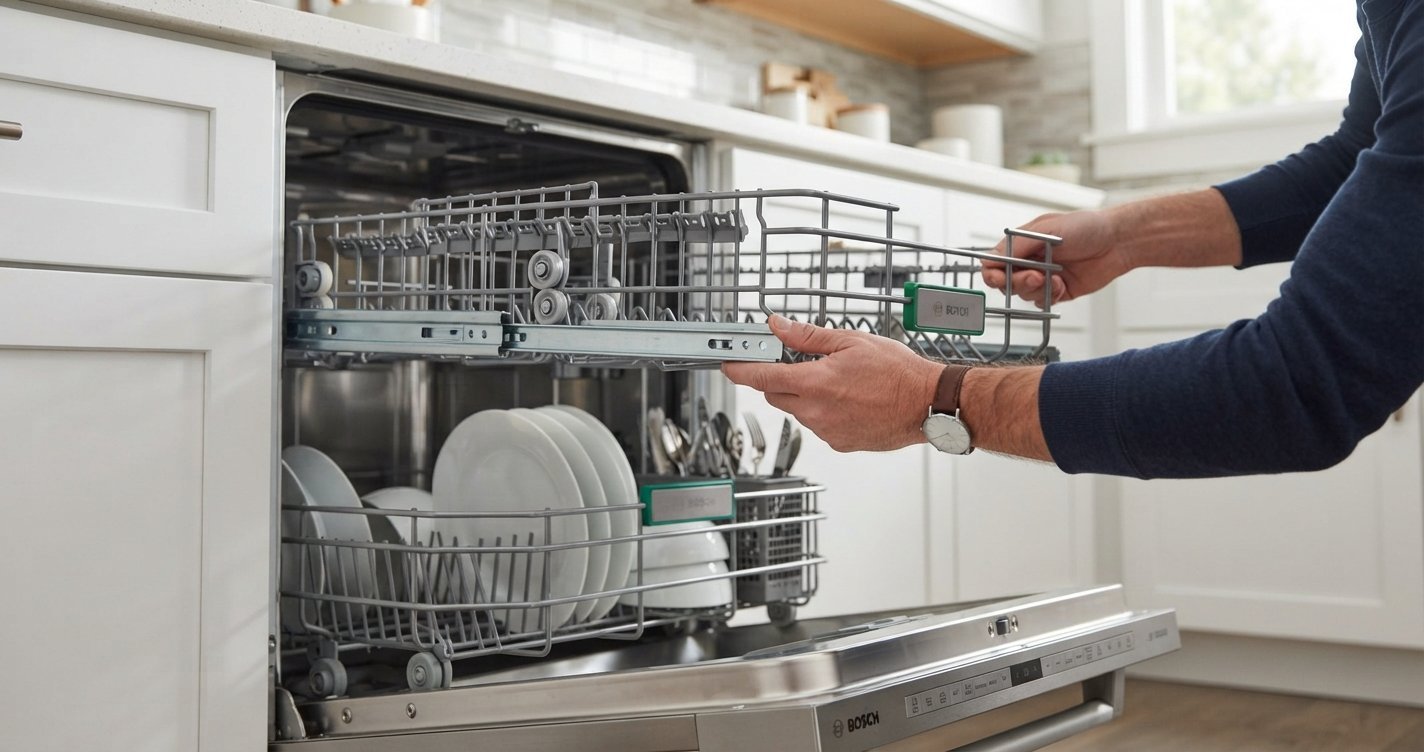
Most Stanley tumblers, including the popular Quencher, are dishwasher-safe on the top rack only. According to Consumer Reports, Stanley’s own senior hydration product manager confirmed that tossing it in the dishwasher is the easiest cleaning method, but only after checking the bottom of the cup for a dishwasher-safe label first. Disassemble the lid, straw, and rubber seal before washing, keep everything on the top rack away from the heating element, skip bleach or abrasive cleaners, and let every part air dry fully before reassembling to prevent mold.
Read More: Bosch Dishwasher E17 Error: What It Means & Fixes
Table of contents
Is a Stanley Cup Actually Dishwasher Safe?
It depends which part of the cup you mean, and which model you own. Stanley urges customers to check their product’s care instructions, but says many of its products are genuinely dishwasher safe. In practice, most modern stainless-steel Quencher tumbler bodies are top-rack dishwasher safe, while lids, straws, and rubber gaskets are a bit more contested — some are officially dishwasher safe, others are recommended for hand washing only, and third-party replacement straws are frequently not dishwasher safe even when the original straw is.
That’s why checking the base of your specific cup for a dishwasher-safe marking is the single most reliable step before you run a load — it removes the guesswork instead of relying on general advice about “Stanley cups” as a category.
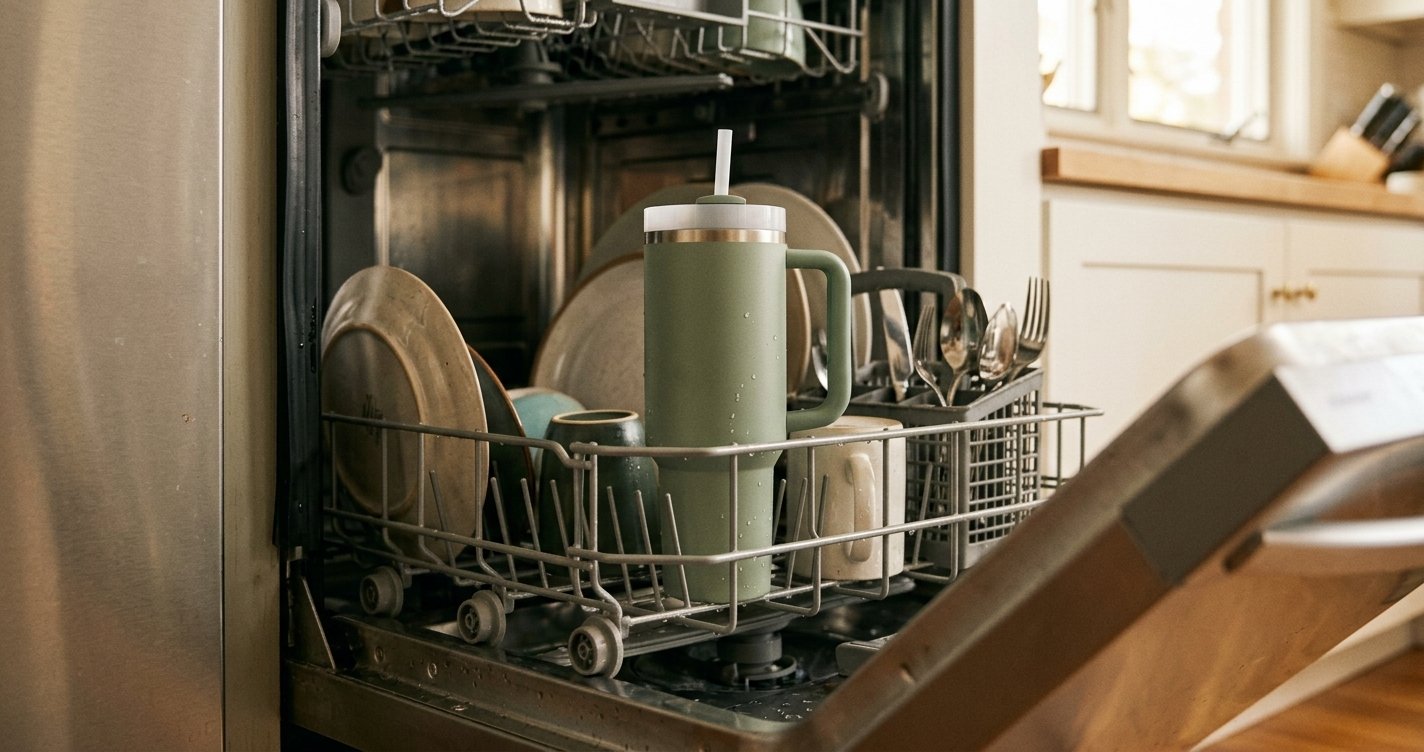
Step-by-Step: How to Wash a Stanley Cup in the Dishwasher
1. Check the Bottom for a Dishwasher-Safe Label
Flip the cup over and look for a dishwasher-safe marking on the base. If there’s no label, hand washing is the safer default.
2. Fully Disassemble the Cup
Remove the lid, straw, and rubber seal/gasket separately. Leaving these attached traps moisture in tight spots and prevents water and detergent from reaching every surface — it’s also the single most common reason people find mold under a lid weeks later.
3. Load Everything on the Top Rack
Place the cup body and all disassembled parts on the top rack only. The top rack sits farther from the heating element, so it exposes the cup to lower heat and gentler water pressure, reducing the risk of warping, discoloration, or damage to the outer coating.
4. Secure Small Parts
Put straws, seals, and small lid components in a utensil basket or mesh bag so they don’t fall through the rack or get knocked around during the wash cycle.
5. Use a Mild Detergent — Skip Bleach and Abrasives
Stick to a standard dishwasher detergent. Bleach, chlorine-based cleaners, and abrasive powders can break down the insulation, damage the outer finish, and leave residue that affects taste.
6. Run a Normal Cycle
A standard wash cycle is sufficient — you don’t need a heavy-duty or sanitize setting, which just increases heat exposure on the top rack.
7. Air Dry Completely Before Reassembling
Once the cycle finishes, let every piece air dry fully, especially the lid and rubber seal, before putting the cup back together. Trapped moisture in these spots is the main cause of mold and mildew.
What Should You Hand Wash Instead?
Even for dishwasher-safe models, several Stanley owners and cleaning experts recommend hand washing specific parts for longevity:
- Rubber gaskets and flip-up lid mechanisms — repeated heat cycles can wear these out faster than hand washing.
- Third-party replacement straws — many are explicitly not dishwasher safe even when the original Stanley straw is; check the packaging.
- Cups without a visible dishwasher-safe label — treat these as hand-wash only.
- Any cup you want to keep looking new for as long as possible — several cleaning experts note that hand washing better preserves the outer finish over years of daily use, even on models labeled dishwasher safe.
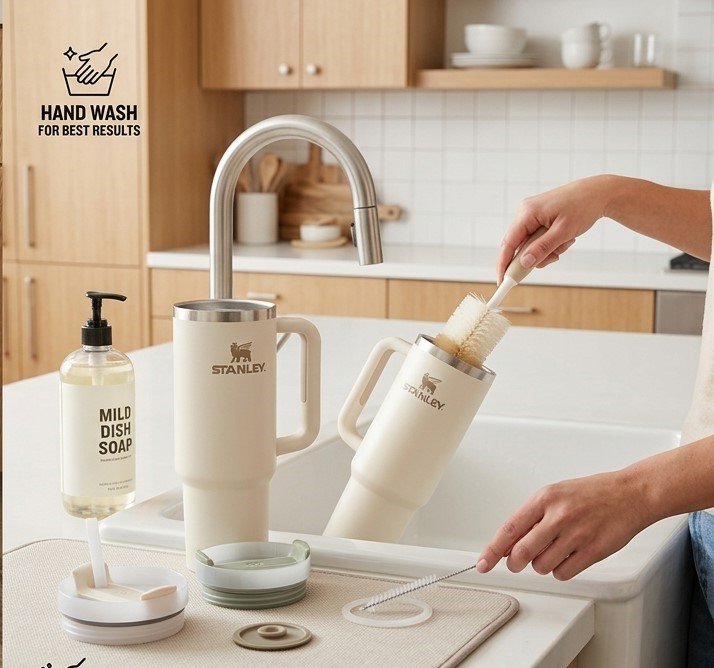
Quick hand-wash method: Fill the cup with warm water and a few drops of mild dish soap, scrub with a bottle brush, use a thin straw brush for the straw, and let a rubber seal soak in warm soapy water (with a splash of vinegar if needed) for 10–15 minutes before rinsing and air drying.
How to Prevent Mold in a Stanley Cup
- Disassemble the lid and straw two to three times a week for a thorough clean, even if you rinse the cup body daily.
- Never let liquid sit in the cup for extended periods — standing moisture in the lid and straw is the main driver of mold growth.
- Air dry every part completely before reassembling; don’t put a lid back on a still-damp cup.
- Use white vinegar or a baking soda paste on the lid or straw if you spot mold or persistent odor — avoid bleach on rubber components since it can leave a lingering residue.
Frequently Asked Questions
Can you put a Stanley cup in the dishwasher?
Yes, most Stanley tumbler bodies are dishwasher safe on the top rack, but always check the base for a dishwasher-safe label first, since not every model or component is rated the same way.
Is the Stanley Quencher lid dishwasher safe?
It varies by model. Some lids are dishwasher safe, but rubber gaskets and flip-up mechanisms tend to last longer with hand washing, even on dishwasher-safe cups.
Is the Stanley cup straw dishwasher safe?
Original Stanley straws are generally dishwasher safe on the top rack, but many third-party replacement straws are not — check the packaging before running them through a cycle.
Why does my Stanley cup smell or grow mold even though I wash it?
Mold typically forms in the lid and straw, not the cup body, because moisture gets trapped in tight, hidden spots. Disassembling and drying these parts fully is the fix most experts point to.
Should I use the bottom rack for a deeper clean?
No — the bottom rack sits closer to the heating element and delivers harsher water pressure, which increases the risk of warping or damaging the cup’s outer finish over time.
How often should I clean my Stanley cup?
Rinse and wash the cup body daily. Disassemble and deep clean the lid, straw, and seal two to three times a week, or more often if you use it for coffee, tea, or sugary drinks.
Conclusion
Washing a Stanley cup in the dishwasher is safe for most models — but “safe” comes with conditions: check for the dishwasher-safe label, take the lid and straw apart first, stay on the top rack, skip bleach, and dry everything completely before you put it back together. Skip any of those steps and you risk either damaging the finish or, more commonly, growing mold in the spots you can’t see. Follow the routine above and a Stanley cup can stay clean, mold-free, and dishwasher-fresh for years of daily use.