Installing a dishwasher might sound like a job only for a plumber, but with the right approach (and a bit of patience), it’s a very achievable DIY project. Whether you’re replacing an old unit or fitting one for the first time, this guide walks you through the process step by step so you can get it done safely and confidently.
Let’s get into it.
Before You Start: Quick Prep Checklist
Before touching anything, make sure you’ve got:
- A dishwasher that fits your space
- Water supply connection (usually under the sink)
- Drain access (sink waste pipe or dedicated outlet)
- Electrical socket nearby (most dishwashers plug in)
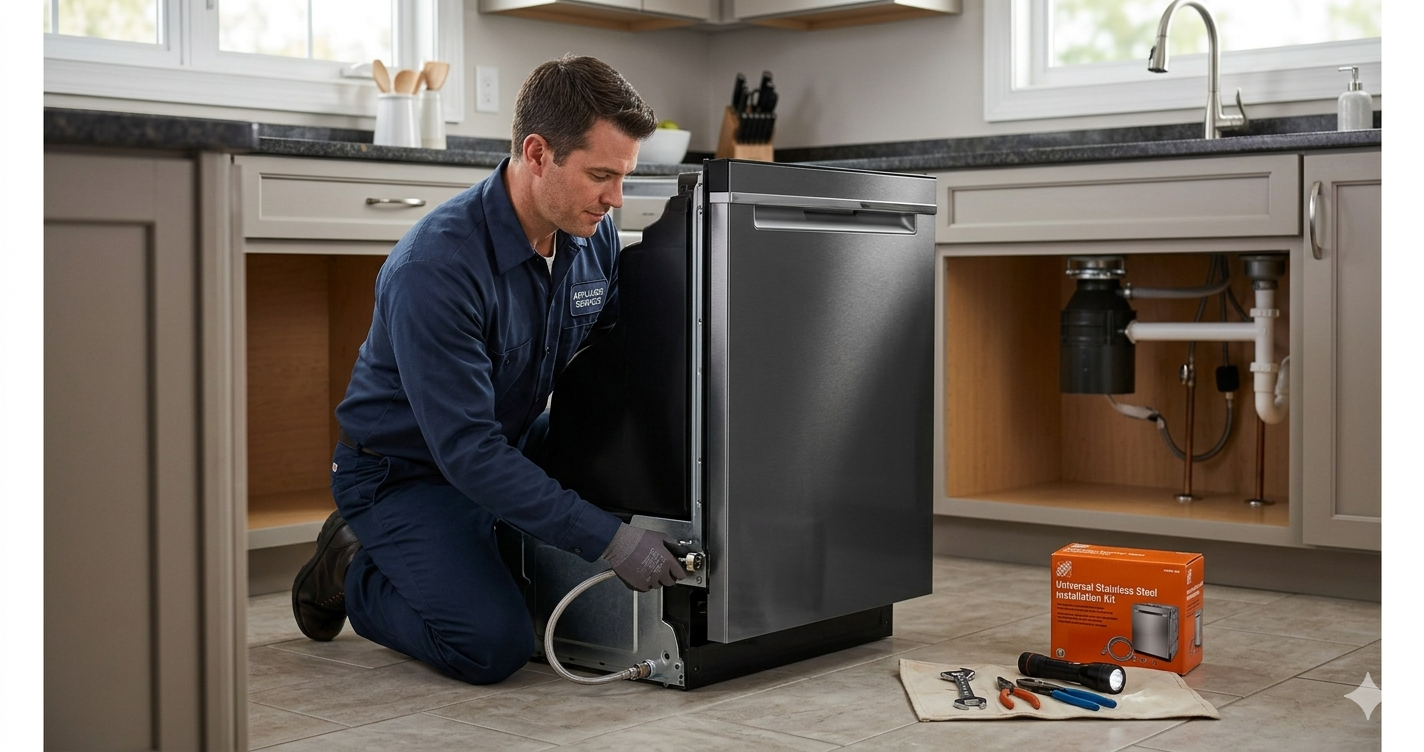
- Basic tools: adjustable spanner, screwdriver, spirit level, pliers
- Teflon tape (helpful for sealing connections)
Also, turn off the water supply and electricity at the mains before starting. This is non-negotiable for safety.
Step 1: Measure and Clear the Space
Dishwashers are usually 60cm wide (standard) or 45cm (slimline), but don’t assume yours will fit perfectly.
Measure:
- Width
- Height
- Depth
Then clear the cabinet space. Remove any shelves, panels, or old appliances. Make sure the floor is clean and level before installation begins.
Step 2: Position the Dishwasher
Carefully slide the dishwasher into place. Don’t push it all the way back yet—you’ll need access to the rear for connections.
Check:
- It sits evenly
- Nothing is pinching behind it
- Hoses can reach comfortably without stretching
If the floor is uneven, adjust the feet underneath the dishwasher until it sits level.
Step 3: Connect the Water Supply
Most dishwashers connect to the cold water feed under the sink.
Here’s how:
- Attach the inlet hose to the dishwasher (if not pre-attached)
- Connect the other end to the cold water valve
- Use Teflon tape if needed to prevent leaks
- Tighten firmly, but don’t overtighten
Turn the water back on briefly to check for leaks, then turn it off again before continuing.
Step 4: Set Up the Drain Hose
The drain hose carries dirty water out of the machine.
You’ll usually connect it to:
- The sink waste pipe
- Or a dedicated drain outlet
Important tips:
- Make sure the hose loops upward before going down (prevents backflow)
- Secure it with a clamp or bracket
- Avoid kinks or tight bends
This step is often where leaks or bad smells happen if done incorrectly, so take your time.
Step 5: Connect the Power Supply
Most dishwashers plug into a standard socket, usually under the counter.
- Plug it in (don’t use extension leads if possible)
- Keep cables tidy and away from water sources
- Ensure the socket is accessible after installation
If your model is hardwired, this is where you may want an electrician involved.
Step 6: Slide the Dishwasher Into Final Position
Now gently push the dishwasher fully into the cabinet space.
As you do:
- Keep hoses and cables free and unpinched
- Check alignment with surrounding cabinets
- Make sure the door opens smoothly
This step is about finesse—slow and steady wins here.
Step 7: Secure the Dishwasher in Place
Most dishwashers have brackets or side fixings to anchor them to the countertop or cabinet walls.
- Screw the unit into place
- Check it doesn’t move when the door opens
- Re-check that it is still level
A stable dishwasher reduces vibration, noise, and long-term wear.
Step 8: Run a Test Cycle
This is the moment of truth.
Run an empty cycle and watch carefully:
- Any leaks under the sink or behind the unit?
- Does water drain properly?
- Is the machine filling correctly?
- Any unusual noises?
If everything looks good, you’re done—you’ve successfully installed your dishwasher like a pro.
Final Tips for a Smooth Installation
A few extra things that make a big difference:
- Don’t rush the hose setup—most issues start here
- Keep everything level to avoid drainage problems
- Always double-check connections before pushing the unit fully in
- If something feels wrong, stop and reassess
Installing a dishwasher isn’t just about saving money—it’s about understanding your home a little better. Once you’ve done it once, the whole process feels far less intimidating the next time.